2 months agoMerry Christmas and Happy New Year

8 years ago
1. First step : preparations
Prepare a re-enforced concrete base (at least the surface of the fountain) of a minimum of 10 cm thick on which you will install your fountain. It is absolutely necessary to incorporate into the concrete a water-repellent mass (= hydrofuge). Also make sure that you think of installing the water supply and drainage.


DIAGRAM OF A CLOSED CIRCUIT

2. Second step : Building your fountain
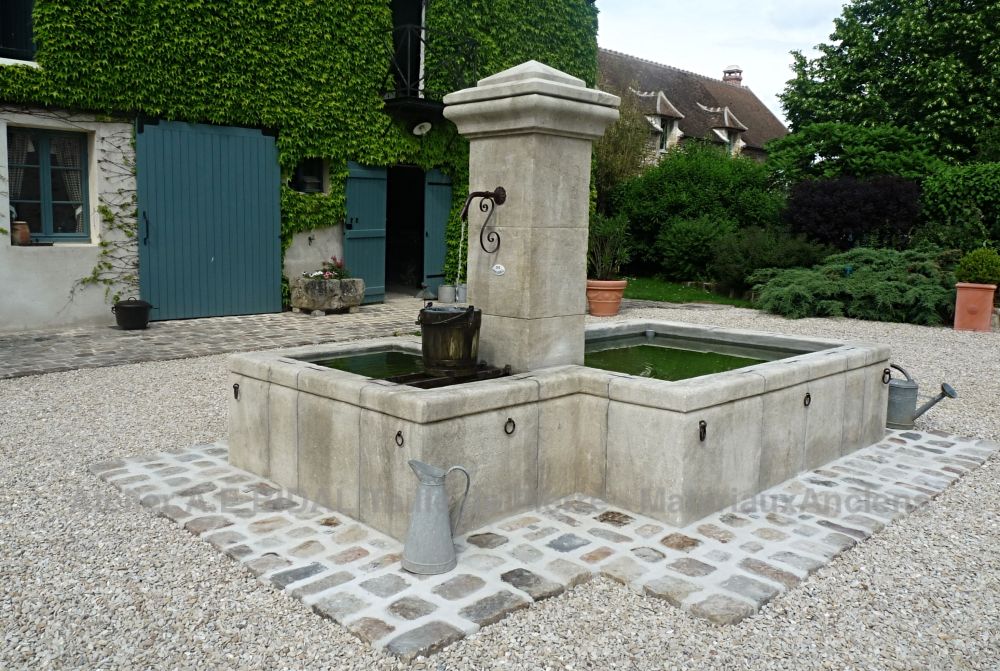
Firstly, mount the stones of the fountain, according to the notice you will find inside the pallet or have received by mail, starting with the base of the central, then surrounds of the fountain.
ALWAYS present it dry once before assembling and cementing it.
To assemble the fountain, it is preferable to use an elastic glue (the same used on the floorings) on the panel joint (in-between the stones and all the nonvisible parts), being particularly careful not to drop any on the visible parts.
Then we recommend to joint the stone together with a mixture of 2/3 grey sand and 1/3 hydraulic lime added to some water. This seal will give a more authentic look to your fountain.


3.Third step : Water proofing your basin
To water-proof your basin, you need to make a casing with a water repellent coating. The same king of coatings also used to waterproof the house facades. This coating is to be applied onto ALL the wetted and immersed parts up to the desired waterline.
It is then highly recommended to use a mineralizing water repellent on all the other surfaces and visible parts. It will prevent water from entering into the stone. It also has the added benefit to delay the formation of lichens and mosses, which will facilitate maintenance.
The waterproof always comes last, once the fountain is fully mounted and jointed – make sure you follow the instructions as shown on the product to apply this waterproof.

